Showing posts with label pencil. Show all posts

Monday, 25 February 2013

Planning my outcome piece

My outcome piece ended up taking so long to plan. I sketched out a lot of different compositional ideas on different shaped canvases, including various aspects of each of the elements. I had no idea where to start so thought I'd sketch a potential separate composition for each of the four elements and then start to see how I could bring it all together.

Initial 4 composition ideas
I included various aspects for each of the elements and then also looked at how I could include pattern. Following this I did some more sketches, inspired by some of my mural research, that tried to link all of the elements together, but ended up over-complicating things as can be seen in the images below.


Composition ideas

Further composition ideas
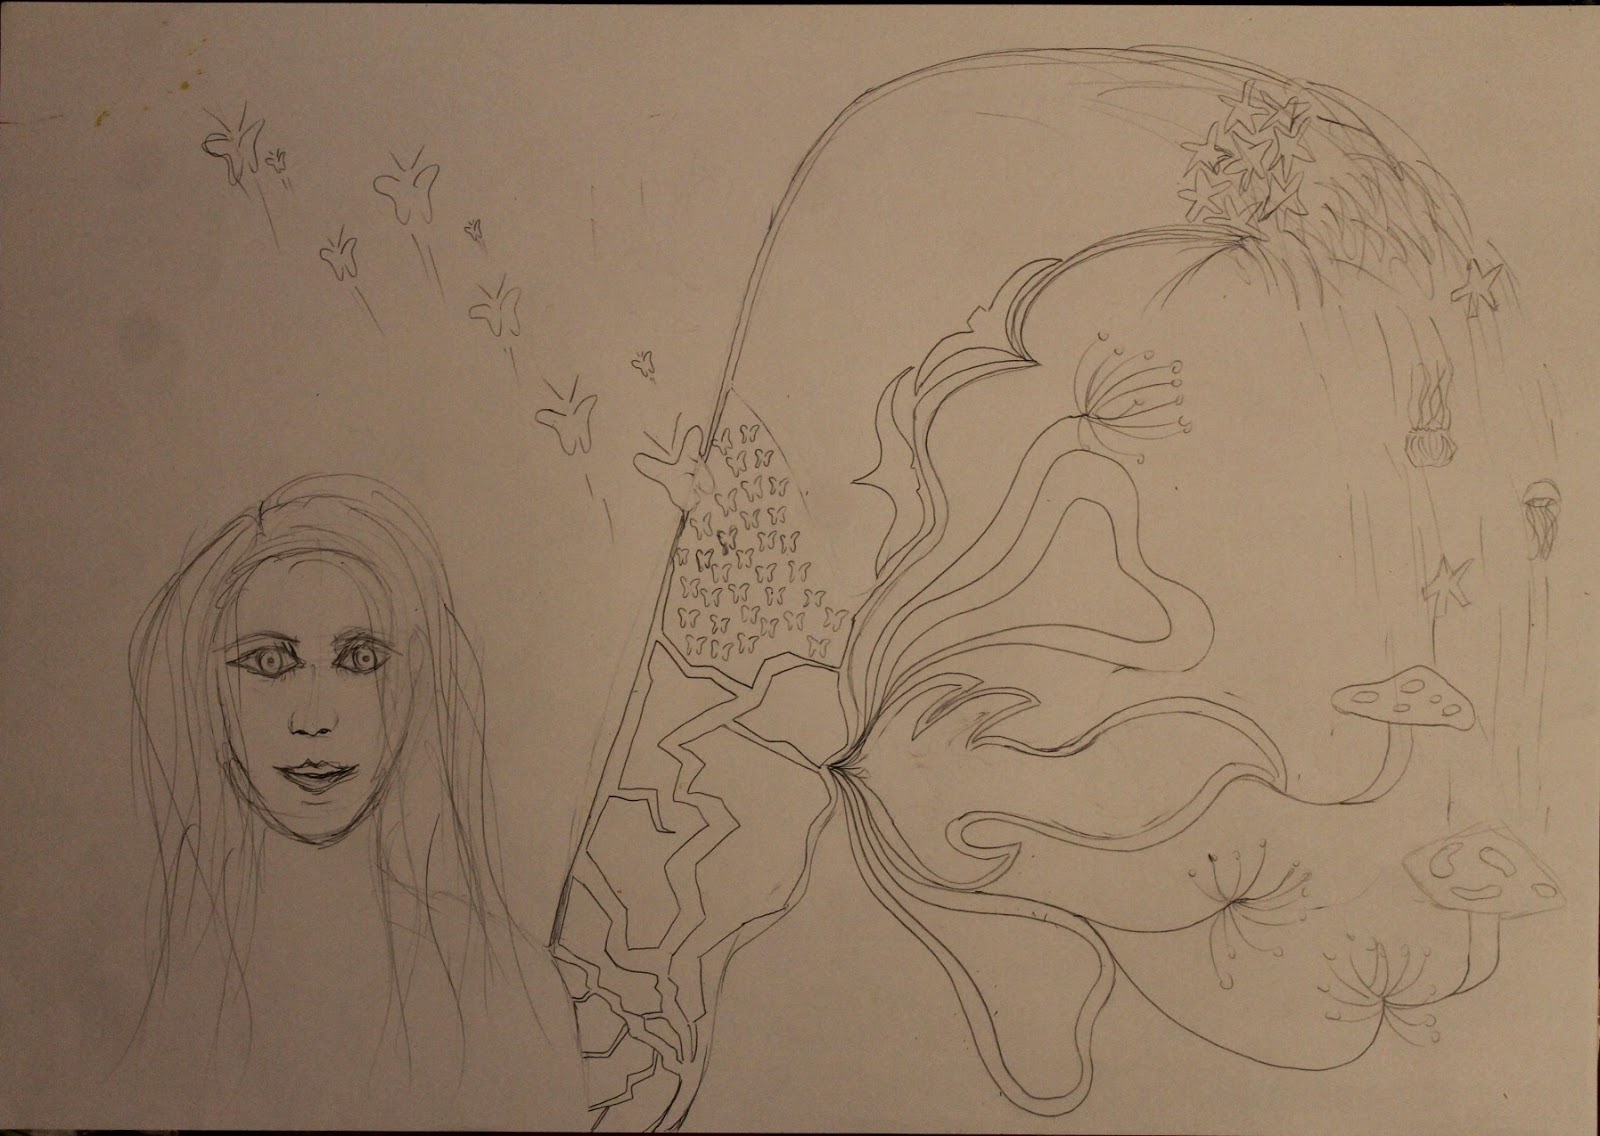
Idea of incorporating all the elements into the fairy's wing

Idea incorporating all the elements - too busy
Once I'd done all these sketches I could see that the ideas weren't really that successful. My favourite idea of these was incorporating the elements into the fairy's wing but my tutor suggested I looked back at the compositions I'd used for my initial mythical research sketches and use these to inspire my final outcome instead.

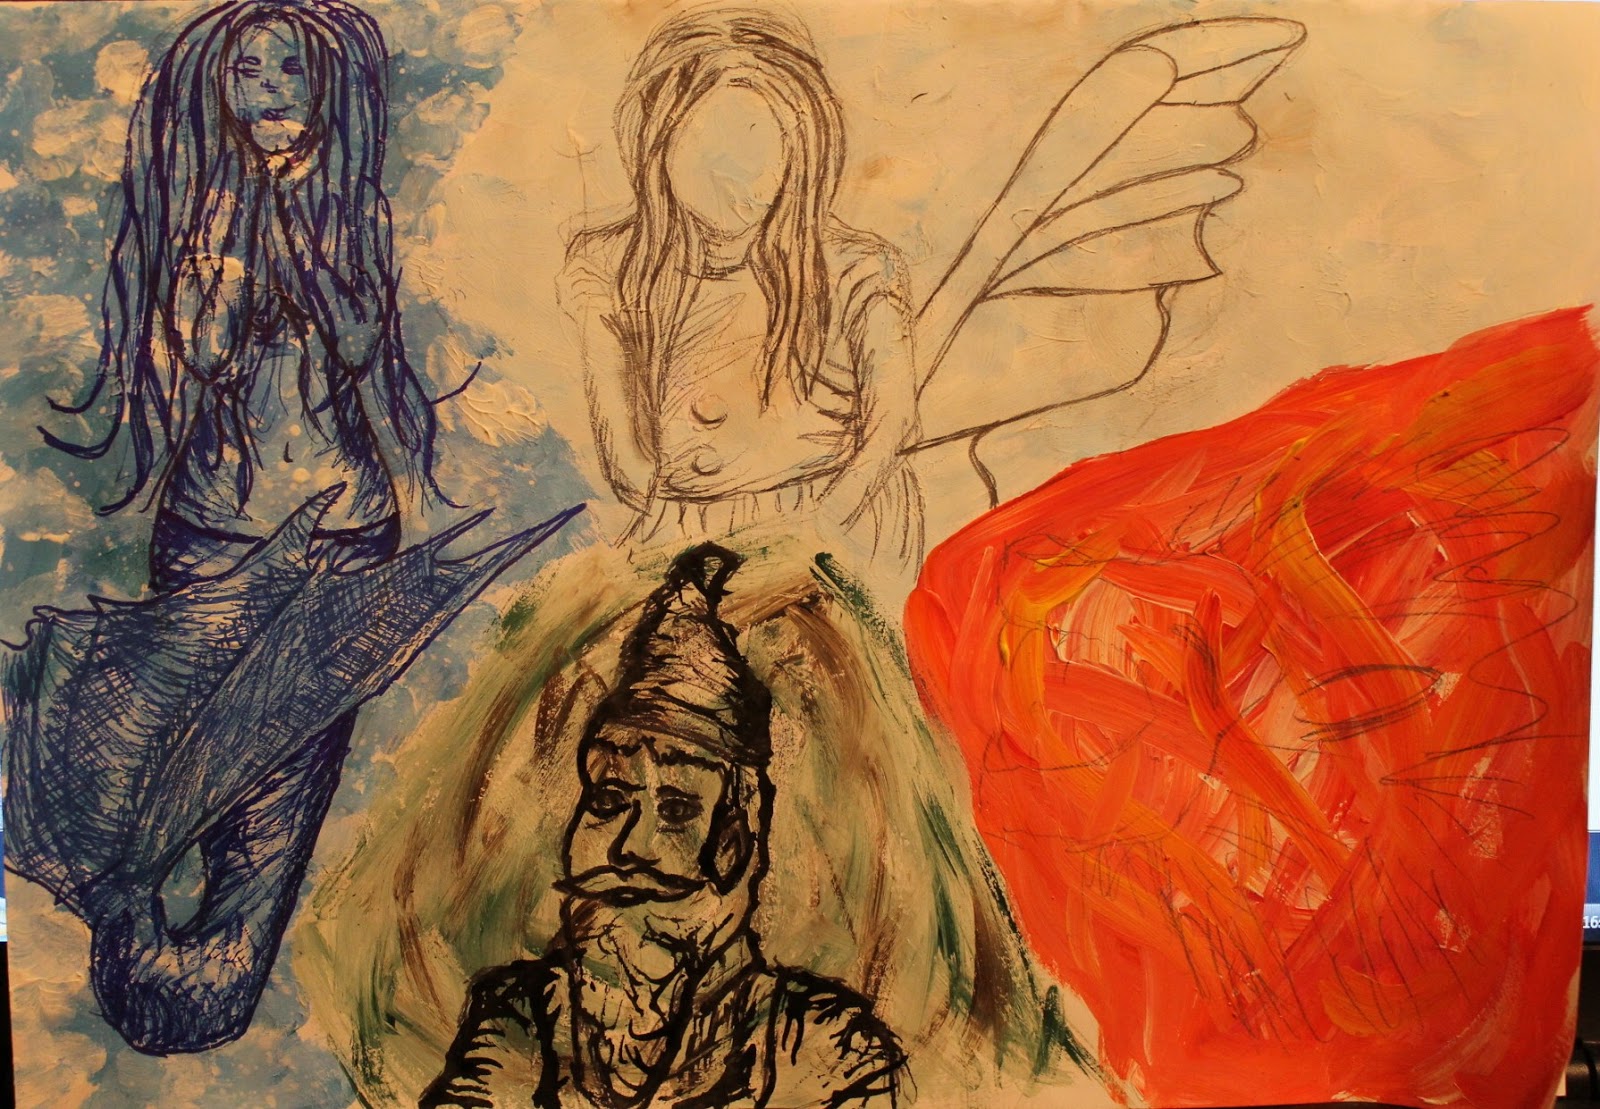
Using the four main images I planned to use in my final piece, which were the lion, the gnome, the fairy and the mermaid, I experimented with various layouts of these until I found one I liked.

Experimenting with layouts
I was happy with this layout idea so I went on to sketch it out and to start planning colour ideas and the materials and techniques I'd use for it.

Final compositional sketch
Initially, I was going to use oil paint so the first colour swatches I did were with oil paint. I knew it took a long time to dry but had forgotten quite how long and seeing as I would be drawing on top of the paint and adding layers over it, I needed something much more fast drying so did some further colour experiments with acrylic paint.

Oil paint colour experiments
 The oil paint colour swatches were to experiment with which colour choices I would use to represent each of the different elements and to experiment with potential background colours too. I wasn't quite happy with the background colours so used acrylic paint to do further experiments for these.

Acrylic paint colour experiments
Then using the relevant media I also added on drawings of the gnome, fairy and mermaid to see how they would word against the background colours.


Monday, 18 February 2013

Butterfly Flutter By

This wasn't quite the order I did things in, but let's just pretend it was...

After I'd done some printing and stencil work with the butterfly shapes my tutor suggested it might be a good idea to add in some detailed drawings and patterns within the shapes of the butterflies. Not wanting, to get behind on my work and not knowing if I'd get the extension I'd applied for I decided to do some other timetabled work and then go back to this if I had time at the end.

I drew the first designs with sharpie marker pens and then added in a chalk outline to make the shape more obvious.


On the second page of designs, I used three different techniques. I had planned to do a detailed pencil drawing but the print was on the wrong paper for this, so the pencil didn't blend too well and I couldn't get it to a really dark tone as it was on pink sugar paper. I went over the pencil in black sharpie pen and ended up creating a silver colour, which was a pleasant surprise. In the second butterfly I drew a detailed design using a combination of black fineliner pen and black sharpie pen and in the last butterfly, I drew in some patterns with black marker pen and then added in some colour with sharpie pens.


Monday, 28 January 2013

Fly away fairy

Using an image I'd sketched in the research section I drew a detailed pencil drawing of a fairy.

Fairy pencil drawing
Which I then traced using layout paper to use as a stencil for spray painting. This involved the painstaking job of sitting there cutting out tiny sections of paper with a utility knife that I'd got from my dad as I don't have a craft knife. The stencil was very fragile and delicate, so I only did a couple of sprays. The first was with a combination of black and white paint on a grey-ish background to create silver tones and the second was with black spray paint on a white background.


Stencil

Sprayed stencil on white background
Before removing the stencil


Voilaaa!


Saturday, 19 January 2013

Giving the grass a haircut and drawing with a twig

I next went on to do some drawings and sketched using the photos I took that were inspired by Andy Goldsworthy, that I mentioned in the previous post. The first one I did was a very finely detailed pencil drawing as I wanted to focus on the details of the whole photo before zooming into sections of it to use for textured sketches.

Detailed pencil drawing

 After doing this pencil drawing I played around with it until I found sections that I liked and thought would be interesting for sketching. The two sections I chose are shown below.


Section 1
Section 2
I wanted to use some unusual and innovative materials for these drawings that also related back to the element of earth. For the zoomed in section of the pine cone I used black ink but drew it on with a twig as opposed to a pen. After doing the drawing in black ink I realised it would benefit from another colour to give it more depth and texture so I also added in orange ink.

I wanted to draw the leaf drawing by getting the colour from the the leaves I'd photographed, but after playing around with them for a while and doing some sort of science-y experiment stuff to try and get the chlorophyll out, I realised that probably wasn't going to work. Instead I used grass to get the green colour, which involved going into the garden with scissors and giving the grass a haircut as well as a lot of rubbing grass across the page. Leaving just the green areas on their own didn’t give the drawing much definition and made it extremely difficult to see any outlines of shapes, so I also added fineliner over the top. I varied the density of the lines from the fineliners to create lighter and darker areas and to define the form of the leaves. By viewing this drawing from a distance its structure is more visible as the lines from the fineliner merge to create areas of tone.

Drawing of section 1 
Drawing of section 2