 |
| Final piece |
Showing posts with label butterflies. Show all posts
Showing posts with label butterflies. Show all posts
Thursday, 28 February 2013
FINISHED!
There have been times when I really doubted this day would come, but I am now pleased to announce I have finished my outcome piece!!!!! All that's really left to do now is finish off my final evaluation and I've finished this project. I really really cannot believe that after a year and a half of work I'm pretty much done, I thought I'd be over the moon to be finished but part of me is sad it's over because I really have loved doing it! And now I present to you, my final piece:

Outcome - Stage III
It turned out I ended up making so many changes to my final piece after having had feedback from my tutor. She advised me that I should have used more of the unusual and interesting techniques I'd used throughout the project so I set to work planning out how to do this. I'd thought including too many techniques would over-complicate things but I can now see that if I'm careful it can still work.
For the air section I wanted to include spray painting as that had been one of the prominent techniques I'd used for air in the rest of the project. I designed and cut out a variety of stencils of birds and butterflies, which I then spray painted on in the same colour scheme I'd used previously in this project. I'm quite messy when it comes to spray painting, and the fact that it was windy didn't really help me either so I had to paint out some of the background with white acrylic paint, where the paint had blown.
I'd also drawn in a flame shape, which is shape of flame I'd initially planned to paint around the lion. Instead of painting straight onto the mural, I did a practice painting first on one of my previous lion drawings. For this I used oil paints over a base of melted wax candles which I'd molded to shape - a technique I've also used previously in this project.
Although I liked this painting, it would've been too overpowering to go on my actual mural design so I sketched out an idea with smaller flames before adding it on to my mural, along with the wax. The way I've painted on the flames make them look more like an extension of the mane and they merge much better with the drawing style of the lion.
I also painted in a smokey effect around the lion, using the spray paint that had blow into the surrounding areas, to help it blend into the air area above it.
The next thing I did was some water experiments with bleach and ink, but they didn't work so well because the surface of my mural was hardboard which was too porous and therefore too absorbent, so the ink just soaked into it and practically disappeared. The photos below show the ink before it was absorbed into the hardboard, but I didn't wash it off and it can now barely be seen on my final piece. Leaving the ink and bleach on the surface just added a little bit of an extra water-like appearance.
I thought drip painting would work well to enhance the appearance of the jellyfish so I did some experimenting with this technique before adding it to my mural.
Following this I planned how I could link the areas of water and air together a bit better and thought that some spray painting would work well. I drew out and cut out some stencils of starfish and combined these with some stencils of birds and butterflies I'd used previously and laid these out as a plan on my mural design before spray painting them on.
The last few changes I made were changing one of the mushrooms to a jellyfish - surprisingly enough it was the one in the water area; changing the drawing style of the mushrooms so they had a less cartoon-like style to them, which I did using conte crayons; adding in some colour to the background of the lion; and drawing in some more flowers. So my outcome piece is now FINISHED!! But I think I could maybe squeeze in one more post, so check out the next post to see my COMPLETED outcome piece!!
 |
| Messy Sarah |
 |
| Birds and butterflies |
 |
| Lion emerging from the flames |
 |
| Lion and flames |
 |
| Air and fire areas |
 |
| Water experiments |
 |
| Jellyfish experiments |
 |
| Drip painted jellyfish on mural |
 |
| After I'd done the spray painting |
 |
| Planning the spray painting |
The last few changes I made were changing one of the mushrooms to a jellyfish - surprisingly enough it was the one in the water area; changing the drawing style of the mushrooms so they had a less cartoon-like style to them, which I did using conte crayons; adding in some colour to the background of the lion; and drawing in some more flowers. So my outcome piece is now FINISHED!! But I think I could maybe squeeze in one more post, so check out the next post to see my COMPLETED outcome piece!!
Monday, 25 February 2013
Outome - stage II
In my previous post I'd got to the stage where I'd planned the location of the background images and following on from that I drew them all in using mainly sharpie marker pens to achieve the result shown in the photo below.
I'd left the gnomes arms unfinished because I wasn't certain of exactly how I'd draw them and wanted to take the background images into consideration. I drew these on next, as well as extending the fairy's arm so that it doesn't look like it's just been cut off and adding in extra pattern in the fairy's wing in a similar style to the pattern on the butterflies' wings.
At this stage I originally thought I had completed my mural, but after uploading it for my tutor to see, she thought it could still be improved so there were more changes I made to it, which I will explain in a third post.
 |
| Addition of background images |
 |
| Changes made to the fairy and gnome |
Monday, 18 February 2013
Butterfly Flutter By
This wasn't quite the order I did things in, but let's just pretend it was...
After I'd done some printing and stencil work with the butterfly shapes my tutor suggested it might be a good idea to add in some detailed drawings and patterns within the shapes of the butterflies. Not wanting, to get behind on my work and not knowing if I'd get the extension I'd applied for I decided to do some other timetabled work and then go back to this if I had time at the end.
I drew the first designs with sharpie marker pens and then added in a chalk outline to make the shape more obvious.

On the second page of designs, I used three different techniques. I had planned to do a detailed pencil drawing but the print was on the wrong paper for this, so the pencil didn't blend too well and I couldn't get it to a really dark tone as it was on pink sugar paper. I went over the pencil in black sharpie pen and ended up creating a silver colour, which was a pleasant surprise. In the second butterfly I drew a detailed design using a combination of black fineliner pen and black sharpie pen and in the last butterfly, I drew in some patterns with black marker pen and then added in some colour with sharpie pens.

After I'd done some printing and stencil work with the butterfly shapes my tutor suggested it might be a good idea to add in some detailed drawings and patterns within the shapes of the butterflies. Not wanting, to get behind on my work and not knowing if I'd get the extension I'd applied for I decided to do some other timetabled work and then go back to this if I had time at the end.
I drew the first designs with sharpie marker pens and then added in a chalk outline to make the shape more obvious.

On the second page of designs, I used three different techniques. I had planned to do a detailed pencil drawing but the print was on the wrong paper for this, so the pencil didn't blend too well and I couldn't get it to a really dark tone as it was on pink sugar paper. I went over the pencil in black sharpie pen and ended up creating a silver colour, which was a pleasant surprise. In the second butterfly I drew a detailed design using a combination of black fineliner pen and black sharpie pen and in the last butterfly, I drew in some patterns with black marker pen and then added in some colour with sharpie pens.

Wednesday, 30 January 2013
Bubblewrap Printing
Continuing on with the bubblewrap theme, you'd think I was obsessed or something?! But actually it is just an unusual and very versatile material to use! For my next bit of work I used bubblewrap to print with, as I'd done previously, but this time used images from my mythical research. I chose a Pegasus image and a butterfly image. I cut these shapes out of the bubblewrap and took some photos of them focusing on the shadows and silhouettes they created.
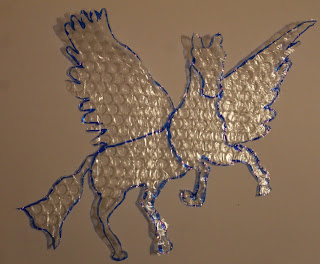


I then used the shapes I'd cut out for printing and as stencils and below are some of my favourite outcomes.


At some point in the future I may also do these prints using card instead of bubblewrap in order to achieve sharper outlines. I may also draw some designs and patterns within the bold outlines.
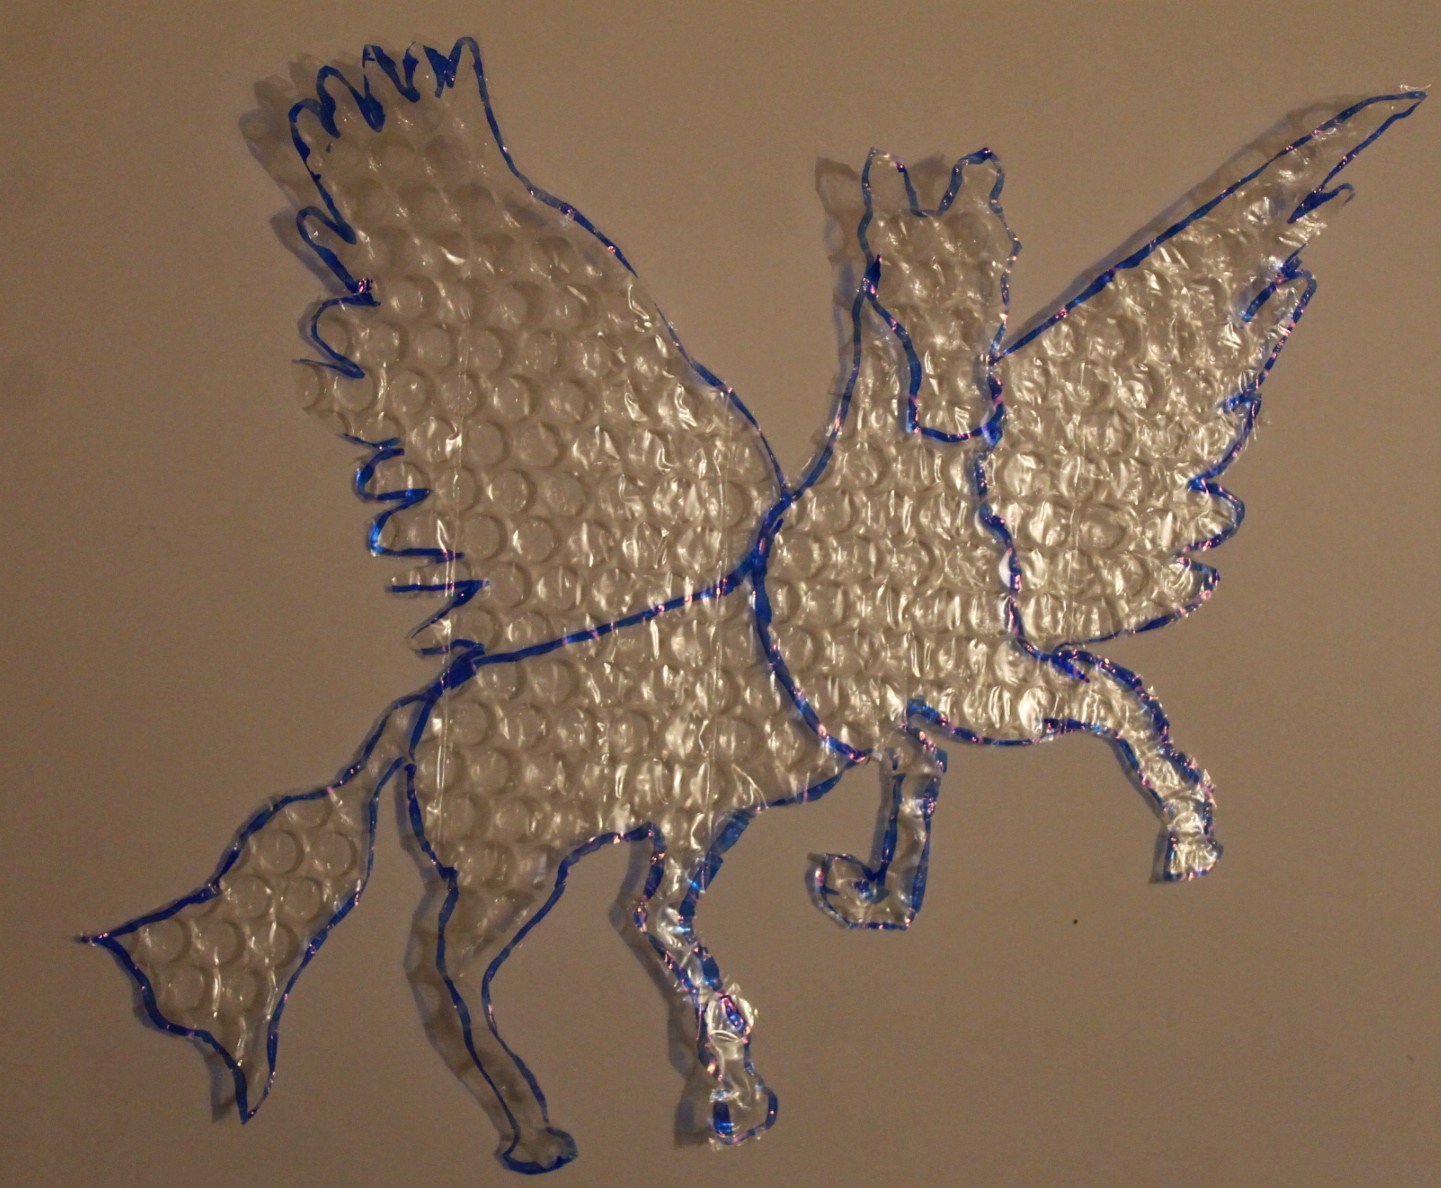


Which is your favourite?
Subscribe to:
Posts (Atom)